Sunday, March 16, 2014

6th Grade Still Life Drawings

Another "AH HA!" Moment

I love this lesson for many reasons: It is a great one day lesson. Can be used as a sub plan. Students have fun doing this. No two are alike. It gives the students some control (which they like.)

I came up with this idea because I have around 35-37 students in my 6th grade classes... making a single still life in the center of the room impossible. I have tried setting up a still life on each table as well, but this doesn't work great either. So I came up with this idea.... What if the STUDENTS created their own INDIVIDUAL still lifes?
So I put objects in 7 different bins, one for each table. When students arrived, I numbered them off at each table.
Ever heard of the game Pick Up Sticks? Well... that was my concept. No one could take an object that was under something else, it had to be on top. (This helps in a huge way.. no fighting over objects, no taking too long to decide, no picking the easiest objects to draw.)
Starting with number 1's, I give them 5 seconds to pick an object, then move to the #2's, 3's and so on until everyone has one object. We continued this until everyone had 3 objects. (I allowed students to add a 4th object of their own if they chose... so some added ipods, cell phones, candy bars etc. Made it interesting!)
Students then arranged their objects however they wanted. I told them to push their still life at least arms  length away before starting their drawing. (Many want the objects right next to their paper... not good for viewing correctly.)
Students worked the rest of the hour drawing a contour line drawing of the objects and added shading if they had time. They were very engaged for this drawing and all turned out great!


Some of the objects used


I collect objects at garage sales in the summer! I also use things around the room like scissors, glue etc. 


6th Grade Contour Line Study


Using a print out of sign language letters, students positioned their own hand for each letter and drew from observation. We stuck to 4 letters because of the size of our paper. Some created a word, others did their name. These were made after several days discussing contour lines. Students practiced creating contour line, continuous contour line, and blind contour line drawings in the weeks prior. 

5th Grade Charcoal Still Life

One Day Lesson: White Charcoal Drawings


Students discussed value and focused on the highlights rather than the shadows for this drawing. 
I also demonstrated how the artist can use negative space to help guide the drawing process. For example, I ask what shape the negative space between the arm and body are creating, when the students see this you hear "aaaaaah..." and you see the light bulbs turning on, hehe. 
We actually went into a pretty in depth discussion/demo of how to draw objects from observation.
Proof is in the pudding.

Thursday, March 6, 2014

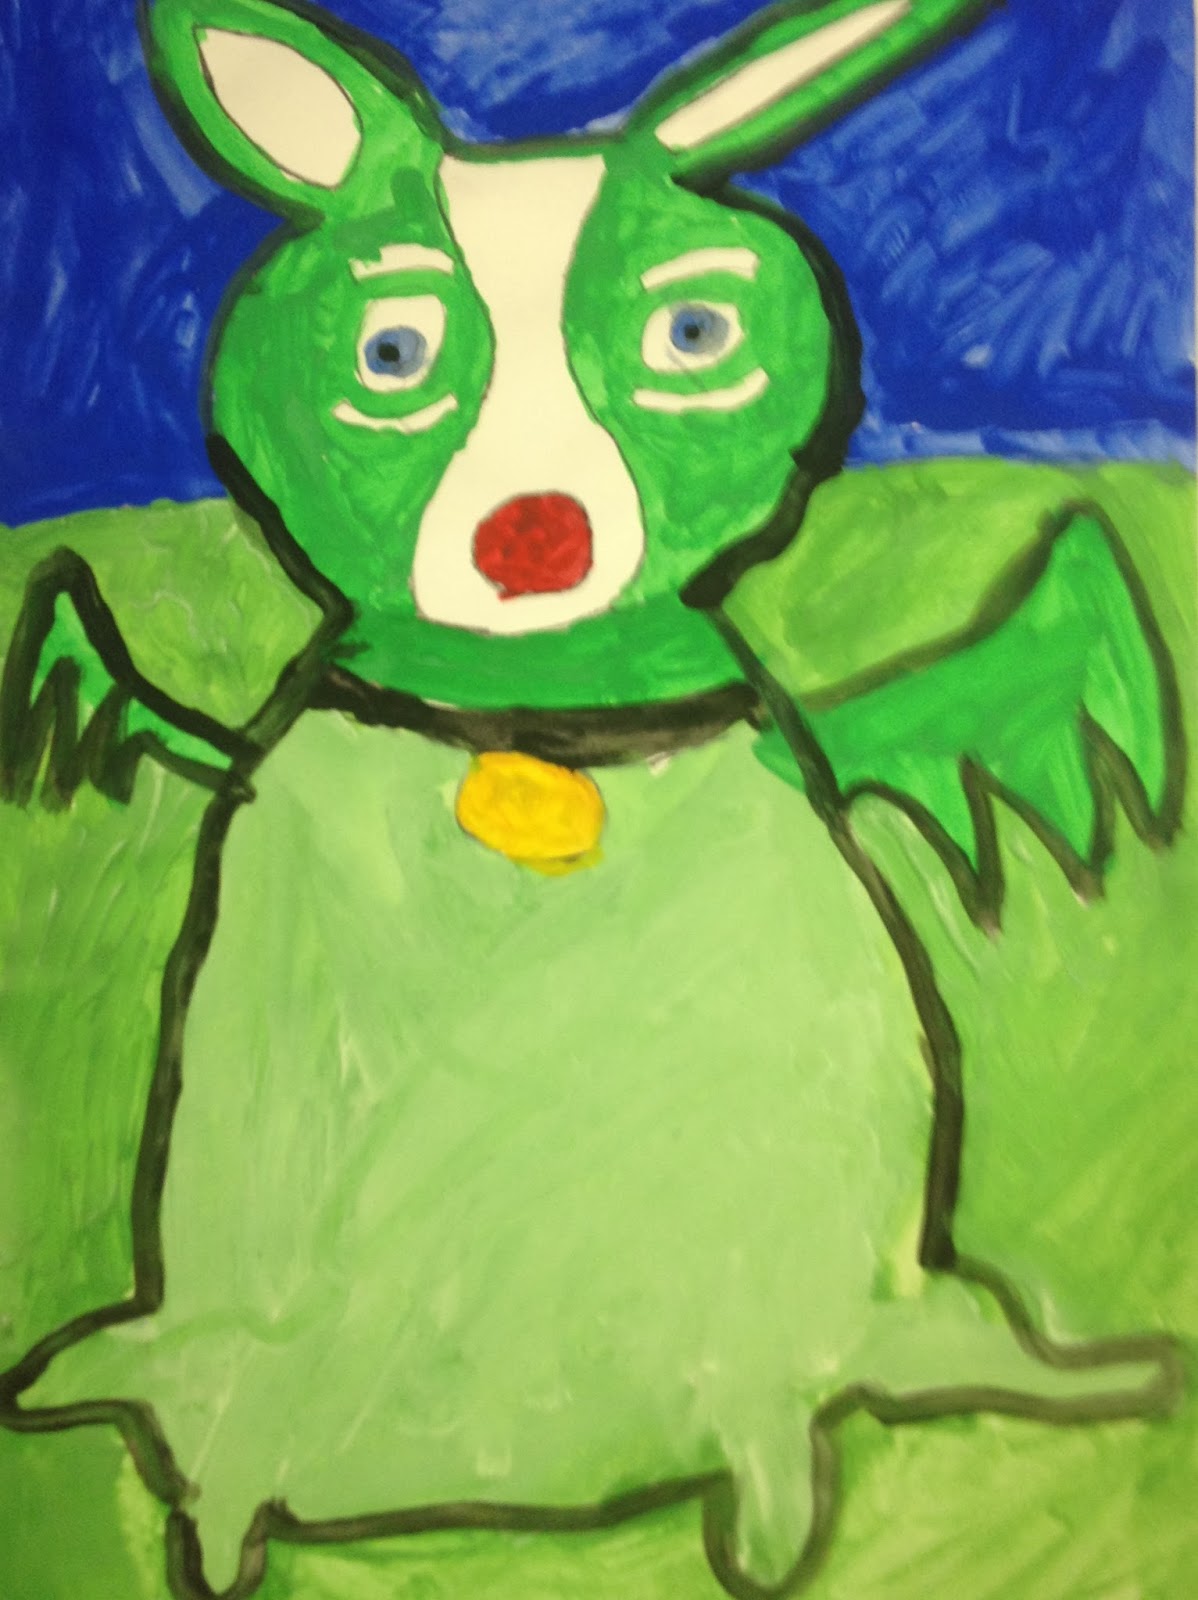
4th Grade Blue Dogs

BLUE DOG!!!!!!!

The FAVORITE every year! This is the only project I always repeat. We begin by looking at at powerpoint over the artist George Rodrigue. (Comment with your email and I will send you my powerpoint.)
Then we read the book, "Why is Blue Dog Blue?" written by George Rodrigue

I demo how to draw Blue Dog then ask students to create a theme!
At the bottom of these pictures you can see that I have attached a piece of paper, these are the sentences the students wrote on the back of their paintings.
"When I think of _______ I paint Blue Dog ________."
Ex: When I think of going to the movies I paint Blue Dog like a super hero!
Ex: When I think of Pizza, I paint Blue Dog Pizza Sauce Red."


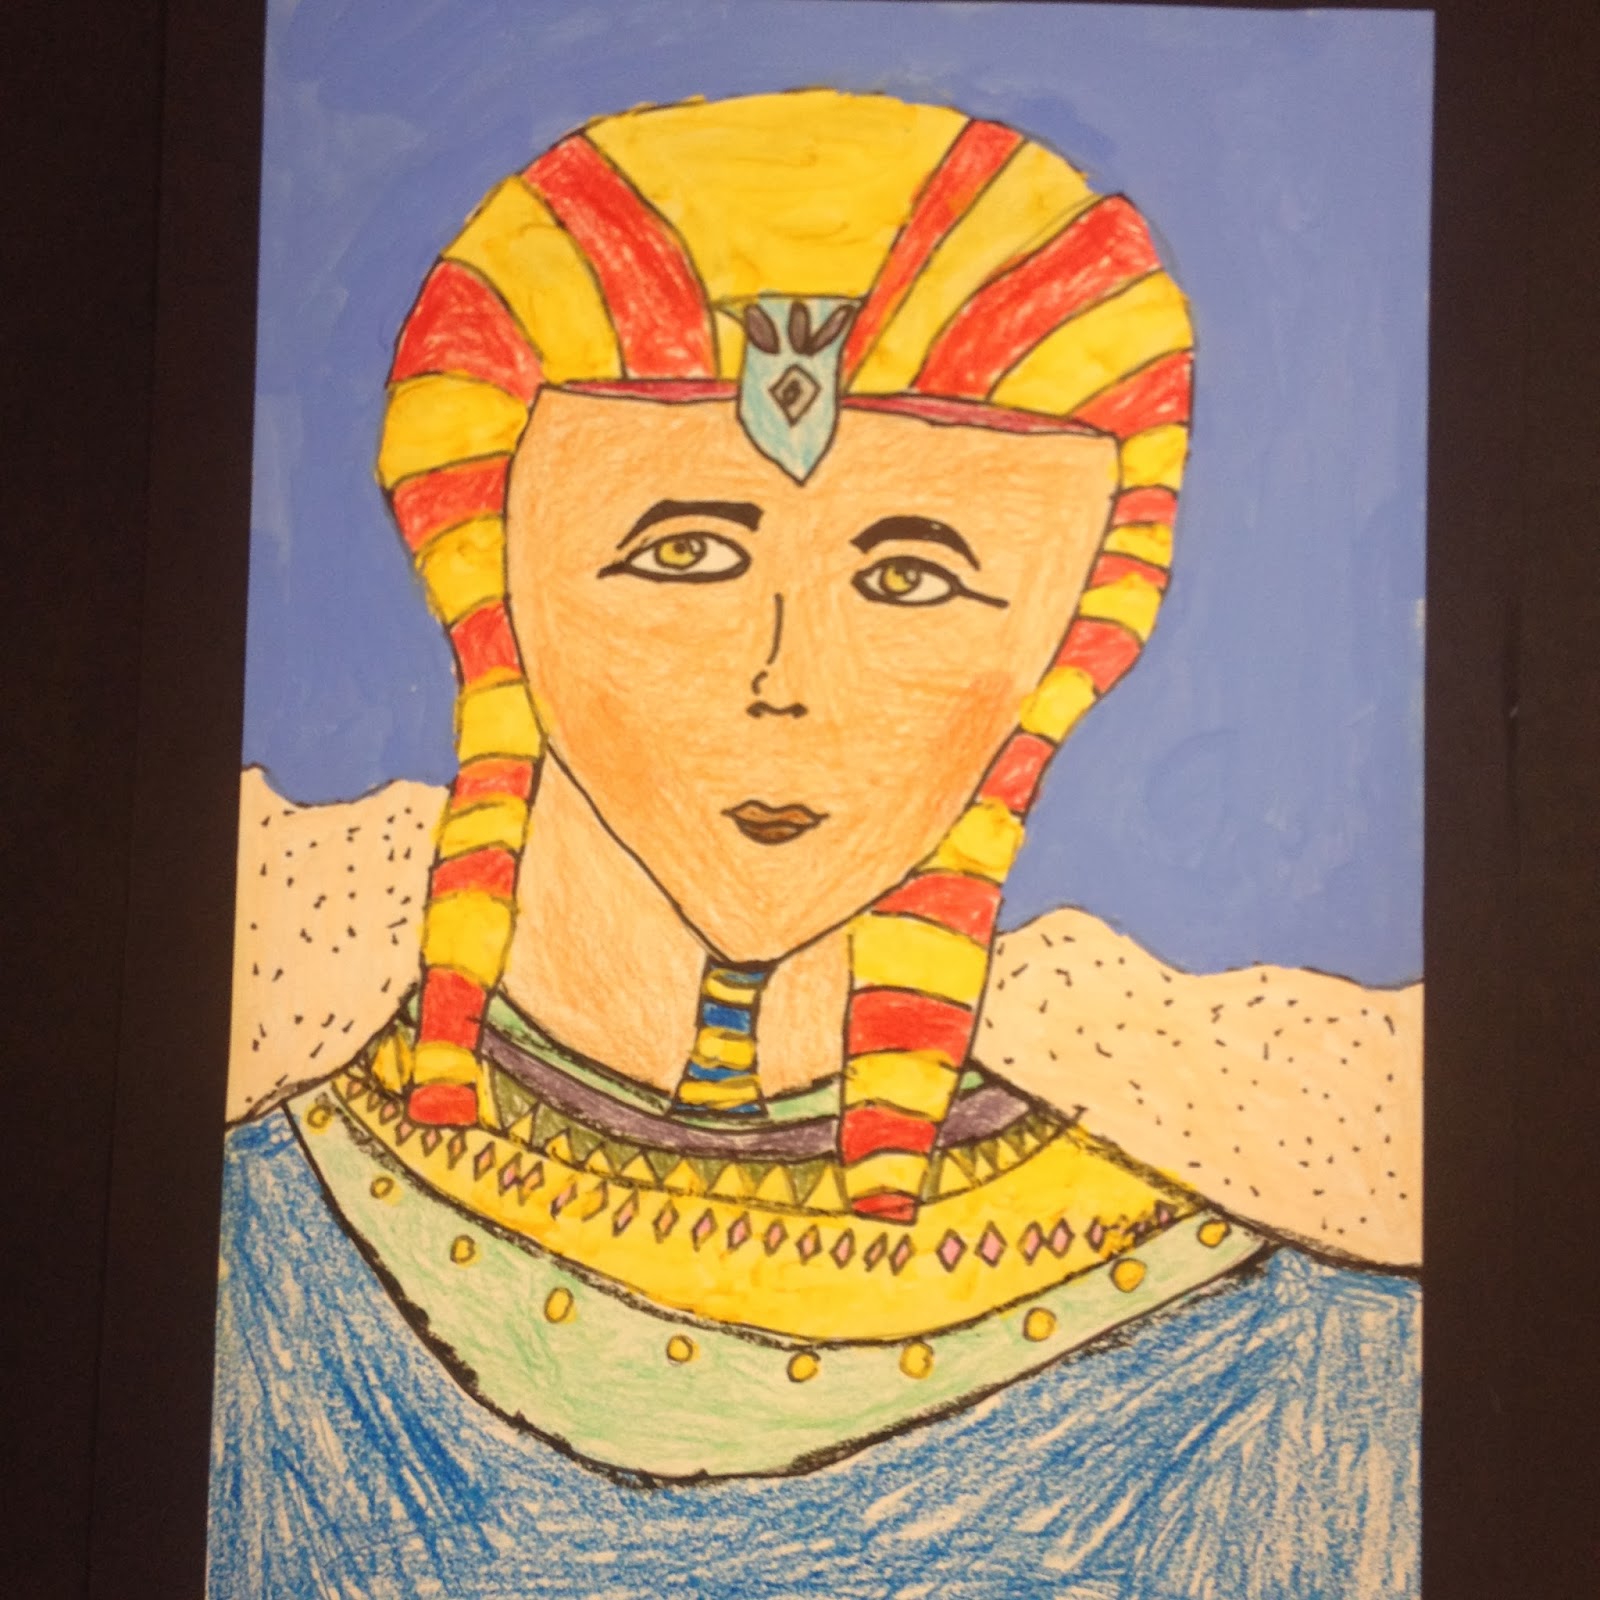
4th Grade Proporitons of a Face/ Egyptian Portraits

4th Grade Egyptian Style Portraits

This project was done after a long lesson over the proportions of a face. I wish I could post that lesson because the results from before and after are AMAZING! But its just too long. Maybe I'll post a video of me teaching it one day?? Hmmm...

So these were created after learning how to draw facial features in the frontal view as well as correct facial proportions. They outlined the drawing with sharpie then colored with crayons. They finished by painting a tint in the background. This was the first project we got any paint out for, so this was a good stepping stone for learning things like, how to create a tint, how to use good craftsmanship with paint, and how to clean up the pallets and brushes. (I teach 4-6 grade art, so this is their first year learning my clean up rules.) 


4th Grade Tints and Shades, Value Scale

"Cool Skies and Fireflies"

This project is always a hit. Students love to create this beautiful background using tints and shades. We also discuss VALUE SCALE with this project! 
I have done many different things over the top such as an owl on a tree branch with construction paper, the sillohette of a tree etc. This year we used Georgia O'Keeffe's painting titled, "The Lawrence Tree" as our inspiration. This also allowed us to discuss Point of View. We began by discussing Warm and Cool colors, then lead into the rest. 

I decided to have students focus on cool colors so the title "Cool Skies and Fireflies" popped in my head, and so it was BORN! 

This project hits: 
Tints/Shades
Value Scale
Point of View
Warm/cool colors 
An artist
AND we had a discussion over O'Keeffe's painting so we also rolled art critique into this project! 

On 12X12" paper--
Day 1:
First we started by painting a white circle for the moon. 
Then students slowly added the color to the white to create a very light tint, each ring adding a little more. I asked them to create 4 tints. I said, "FOUR IS A MUST, FIVE IS A PLUS!" They took this as a challange and many created 5! 
Students then added a ring of plain color to seperate the tints from the shades.
From there they slowly added black to create shades and I asked them to try to create 3. 
Day 2:
Discussed O'Keeffe and The Lawence Tree via powerpoint 
Demoed how to create whimsical branches over the background
Created yellow "fireflies" using the back of the paint brush dipped in paint
Students finished independently 

Comment with your email if you would like me to send you the powerpoint I made for this project. :) Its short and sweet and ends with a critique. 


Some GREAT Supplies for Adaptive Art Students!

Here are a few things I like to use with my Adaptive Art students:

-There are many things you can do with a standard sponge to create a free supply! I get these from the custodian. I have cut them into different shapes such as the flower petals seen here. Also using a clothes pin to pinch a small strip of sponge between will create an interesting rectangular shape when stamped.
-Color Defusing paper is a MUST! They love to watch the colors spread and the designs are very exciting.
-Liquid watercolor is another go to for me. It can be used in so many ways!
-I also buy foam shapes and letters for them to practice spelling their names and to discuss colors and shapes.  
-Another freebee is a cardboard tube with bubble wrap over the top. This makes a very fun stamping tool with interesting texture!

What supplies have you used that work really well for you? PLEASE SHARE! :)